This is a follow up to Part One which sets you up the point that you have accepted team registrations online and approved/rejected them appropriately. When you have closed registrations, you are ready to proceed with this guide.
As with Part 1, this is also largely covered in the below video if you prefer that to reading content.
Confirming Your Teams
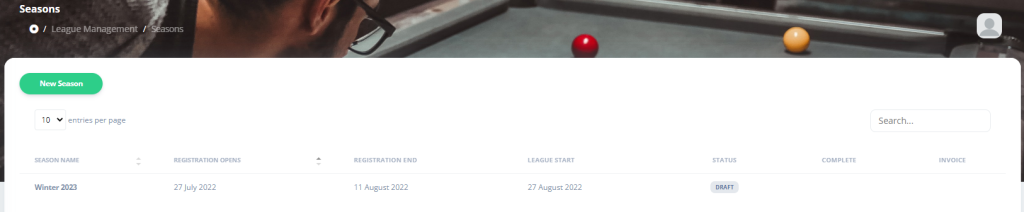
After teams have all been registered, approved (and ideally, paid and settled up!) then you can return to the Season Wizard in League Management > Seasons and click on your Draft Season.
You’ll be jumped directly to a screen which shows you all the registered teams, their players, and the competitions they have entered alongside the prices for those competitions.
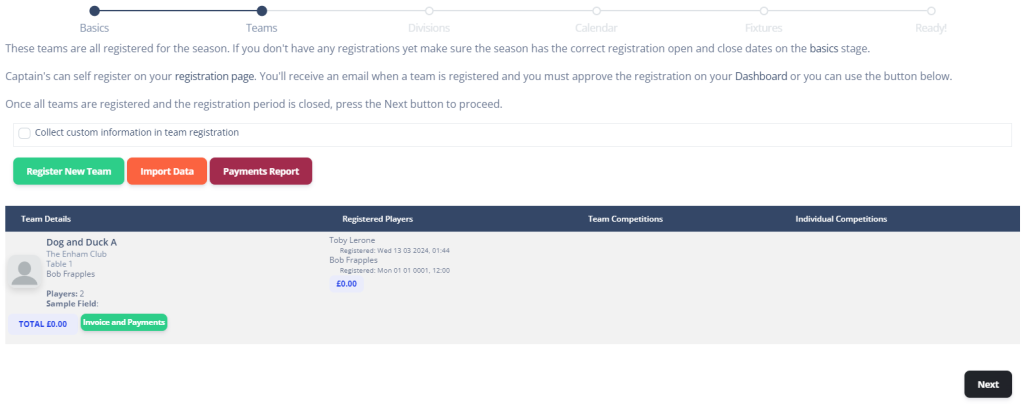
When you are happy to proceed on the Teams screen, press Next.
Setting Up Your Divisions
With all the teams registered you need to assign them into Divisions. If this is your first season, then this screen will be very blank.
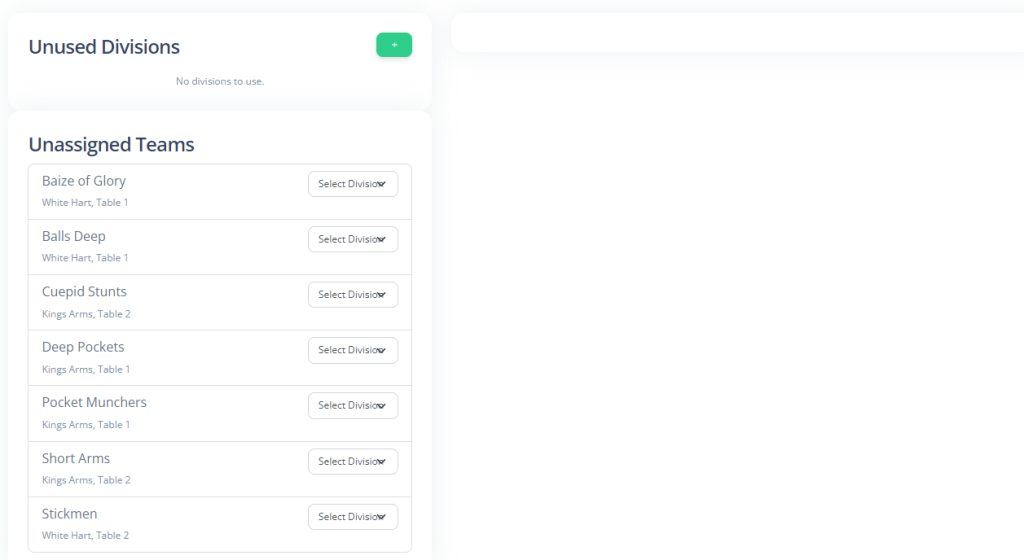
All the information you need to know about this screen can be found here, including how to ensure you avoid fixture clashes with teams sharing tables.
Creating Your Season Calendar
Now we know what teams we have and what divisions that they will play in. Next up, we need to create a fixture calendar to play matches in.

Some calendars are very simple, but there are always nuances. For example, a winter break may be required over Christmas. You may play on bank holidays. or there may be other planned major events that need to be factored in.
This screen and how to use it is fully detailed here.
Fixture Generation
When you press Next after the Calendar Dates, it will generate your fixtures based upon the fixtures. These are based upon a pre-determined framework which we hold that works in tandem with the team numbers defined in your Division setup

If you have a Bye team in here it will show them, but you can also press Remove Byes. This will remove these matches from all fixture lists. Some leagues like to keep them in to show it is a deliberate game to be missed, but others think it is tidier to remove them. It’s dealer’s choice.
If for any reason you need to go back and alter your divisions or dates, you will need to Regenerate Fixtures. You can perform some basic edits in here too.
Full guidance on this screen (including information about table clashes) can be found here.
Start Season
Everything is all set! All you need to do is press the Start Season button to start your season.
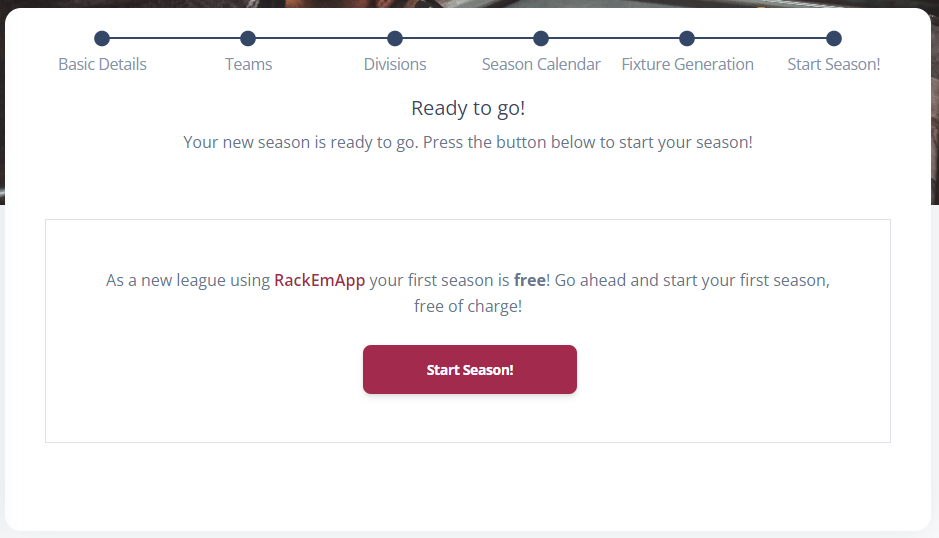
Every league’s first season is free, but subsquent seasons are chargeable and paid via Stripe, our secure card processing partner.
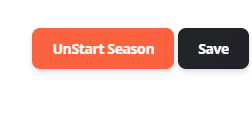
Once you start a season, up until the first match is played you are able to unstart it to make any changes that might be necessary. This is only possible if there are no results present. Results can also mean draft results which show as 0-0 in League Management > Fixtures and Results.
Don’t forget to share the YouTube Video with your captains so they have access to the information they need to look after their team and process their scorecards on match night.
Access Your Website!
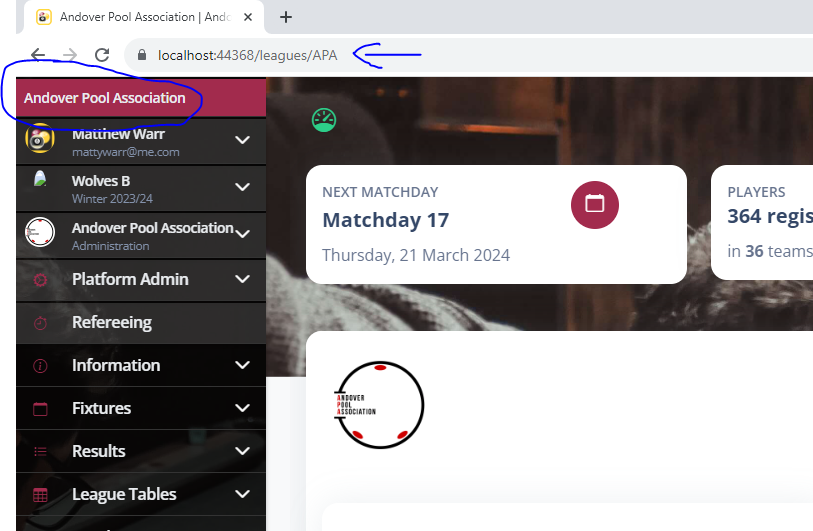
Once the season is live, you are able to share your website with the world! Anyone is able to access your website without needing to login.
The best way to get the link to share is to click your league name at the top of the menu. This will take you to your league homepage, from which you can copy the URL to be shared with the world.