RackEmApp has some functionality built in which allows streamers to add an “overlay” to their streams. These overlays can be used in many types of stream software that support a web page/URL overlay, but we have tested and proven it working in in StreamLabs and OBS.
Additionally, we also support the use of StreamDeck via configured Hotkeys in Referee mode.
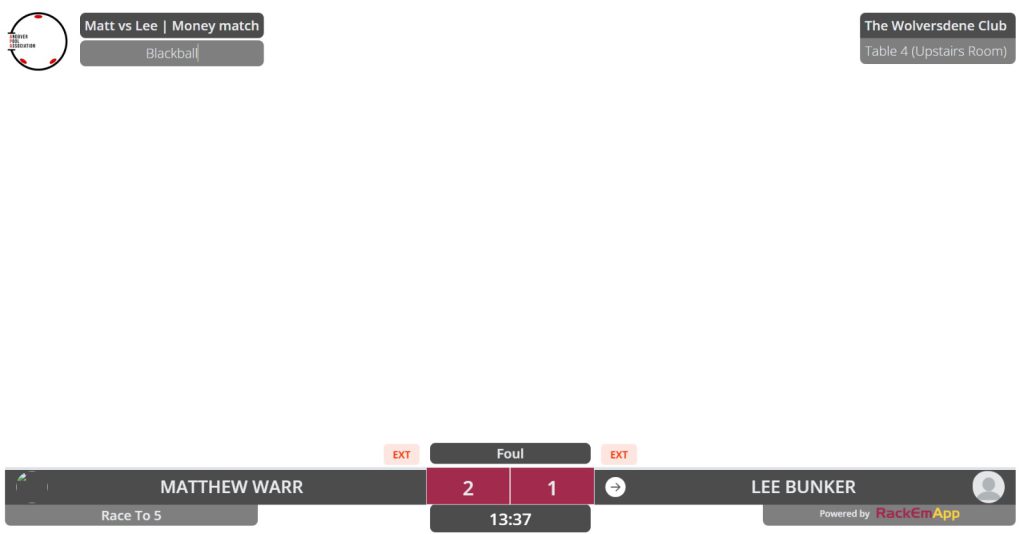
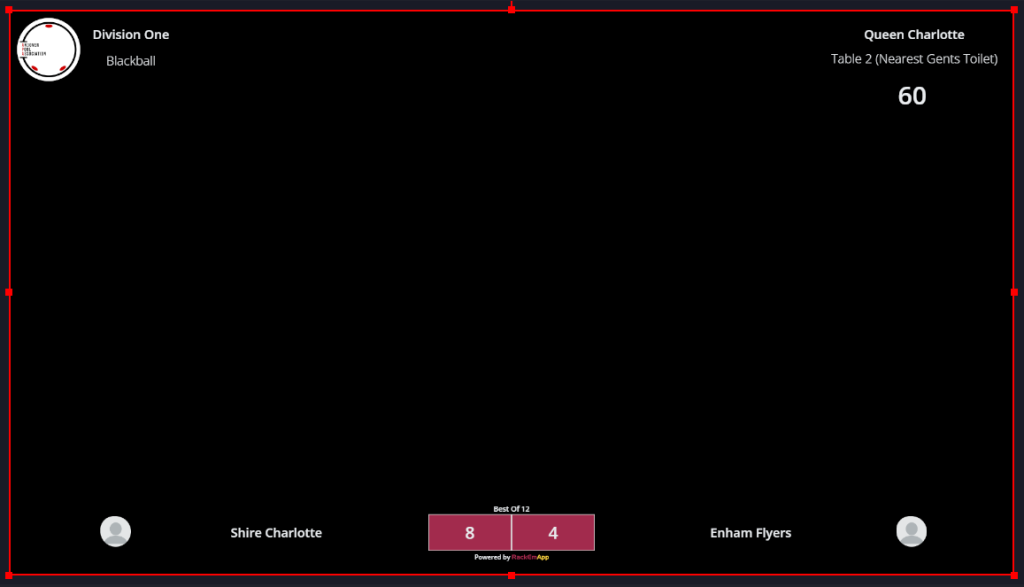
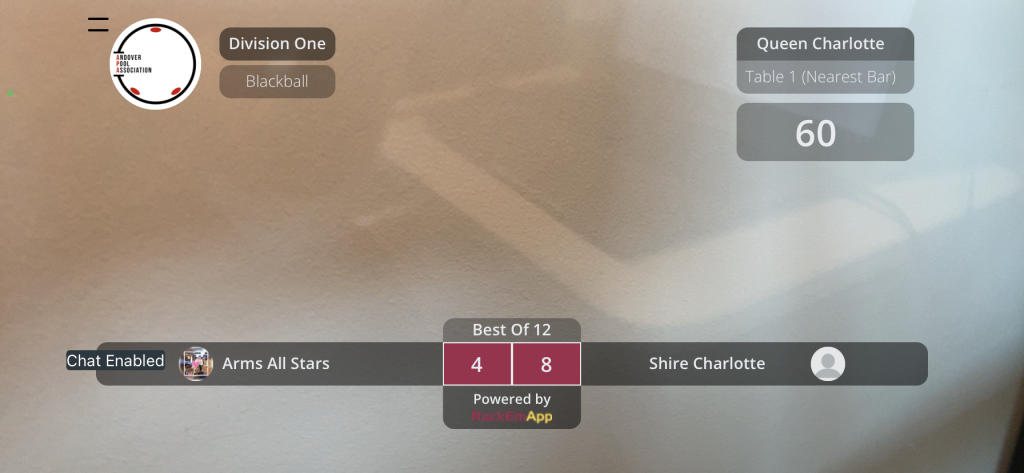
Our streaming overlay displays and automatically updates based upon score and changes in frames relating to:
- League logo
- Competition Round/Division Name
- Shot Clock
- Match Clock
- Sponsor Banners
- Breaker
- Venue
- Table
- Best Of/Race To
- Home and Away Entries
- Avatars
- Colour of ball in play
And it updates this via whatever method the match is using to score. That could be via the Scoreboard/Tablet Scoring, it could be through the Dashboard (Fixtures or Competition Management), or it could be through Referee mode.
Getting Your Stream Overlay URL
Stream overlays are operated by table. This is because typically a camera is setup for a specific table in a specific venue.
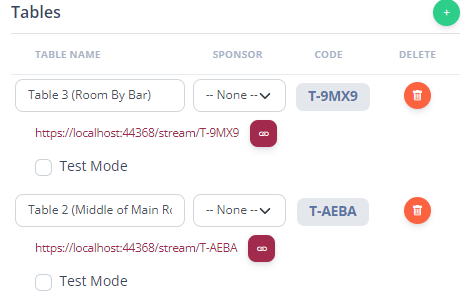
Each table has a specific stream link that you can use to plumb into your stream software. These can be found in League Management > Venues and then click the venue you want to see the tables for.
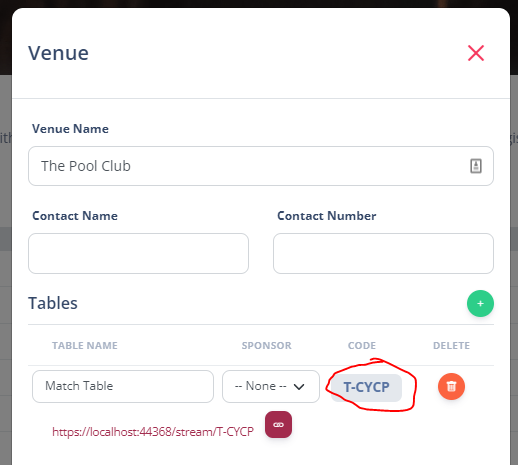
The URL is constructed from https://www.rackemapp.com/stream/{tablecode} where you replace {tablecode} with the code of the table. For ease of use this is suggested to you below the table and you can press the button to copy the link to the clipboard.
The table can also be put in Test Mode to assist you in postitioning your overlay without a need to assign a match.
Using Shot and Match Clocks
Shot and match clocks can be displayed if the match is configured to do so by adding these URL parameters to the end of your stream URL.
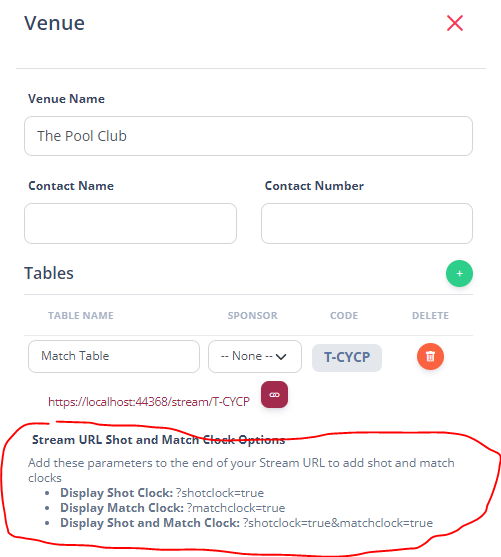
If you plan on using these at all, we recommend including them, as if the match is not configured to use them it will omit these anyway.
- Shot Clock Only: ?shotclock=true
- Match Clock Only: ?matchclock = true;
- Shot and Match Clock: ?shotclock=true&matchclock=true
Set a Match To Stream
Before you configure the overlay in your stream software, you need to set a match to stream there (Otherwise you won’t see the overlay).
This is done in various places of the Admin Dashboard. Either in Fixtures and Results, or any competition match. Basically, anywhere you see this symbol.


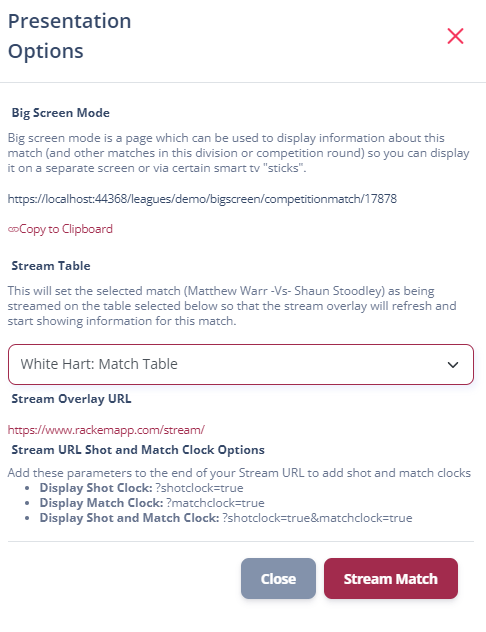
This will open you a box showing you your presentation options.
You can get a link for “Big Screen Mode” which is a URL/screen you can display on a TV.
But to set a match to be streamed, simply choose the table you want to stream the match to and press Stream Match.
This match is the one that will be displayed for this table until the next one is streamed to the table. So in order to stream the next match, simply identify the next match and set it to the relevant table, and the overlay will auto-update with the match you change it to!
Note: Doing this will also push any configured Scoreboard assigned to that table, so you have a fully integrated experience. using the scoreboard is a supported method for live scoring and updating the stream overlay.
Stream a Standalone Match
If you want to stream a standalone match, create a Challenge Match.
This will give you the same streaming options and ability to use Referee mode to drive the stream overlay as with any other match.
Configuration in Stream Software
OBS Project
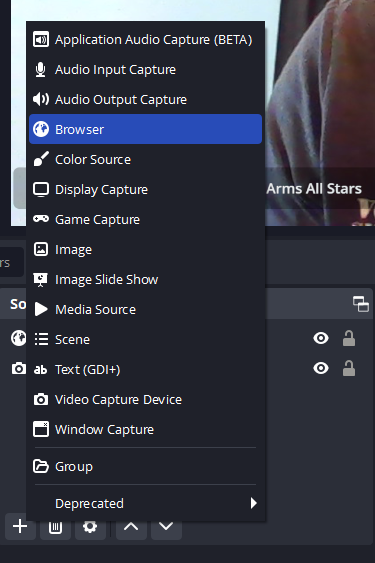
In your Sources list, add a new source from Browser.
Give your course a name. As this is a unique URL for a table, it makes sense to name it something that makes it obvious which table it is for, so you can quickly reuse it later.
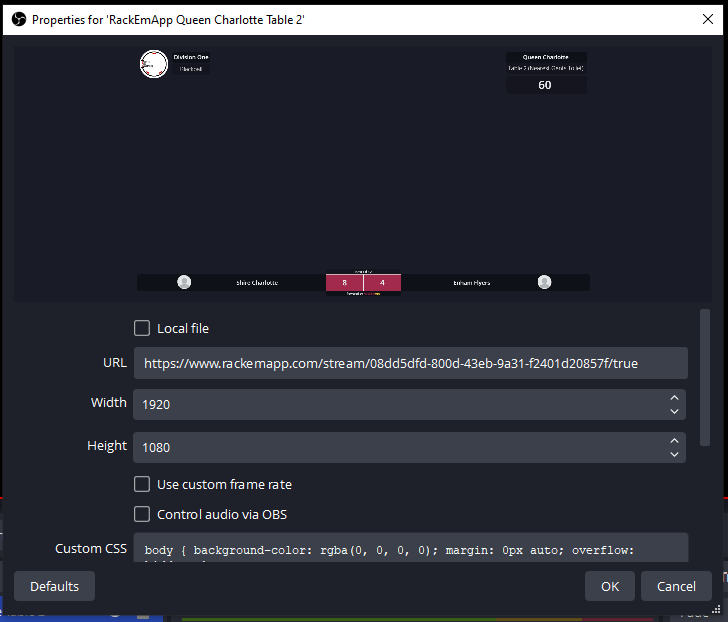
Paste your URL into the URL box and assign the height and width of the overlay, which is different depending on your screen setup.
You can then drag/resize the window if you need to. You usually want this to fill the screen.
This is all you need to do! You just need to ensure the sequence of your layers is correct, but thats outside the scope of this tutorial.
StreamLabs OBS
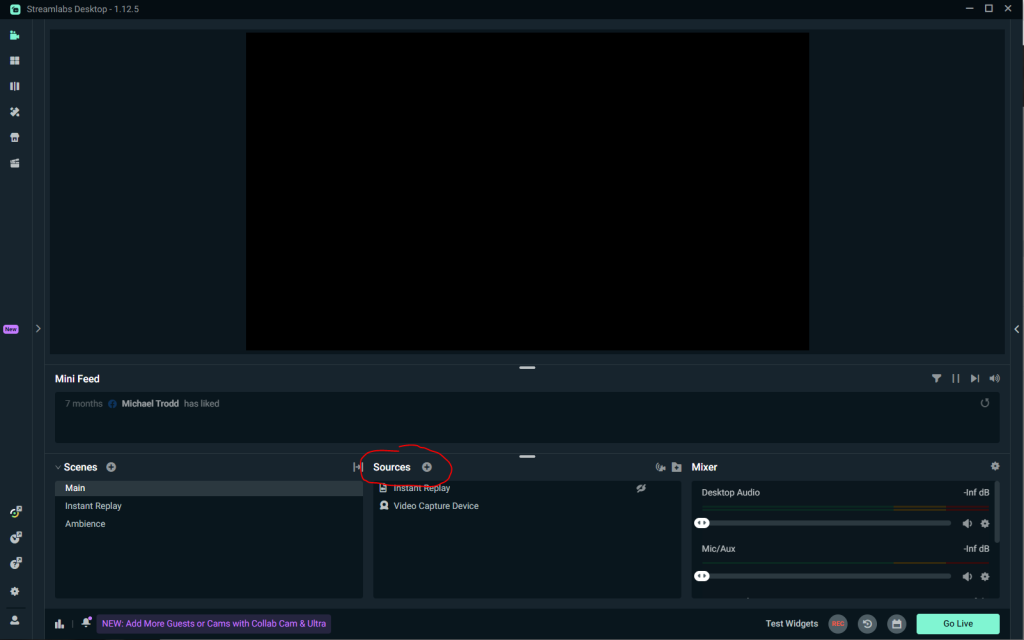
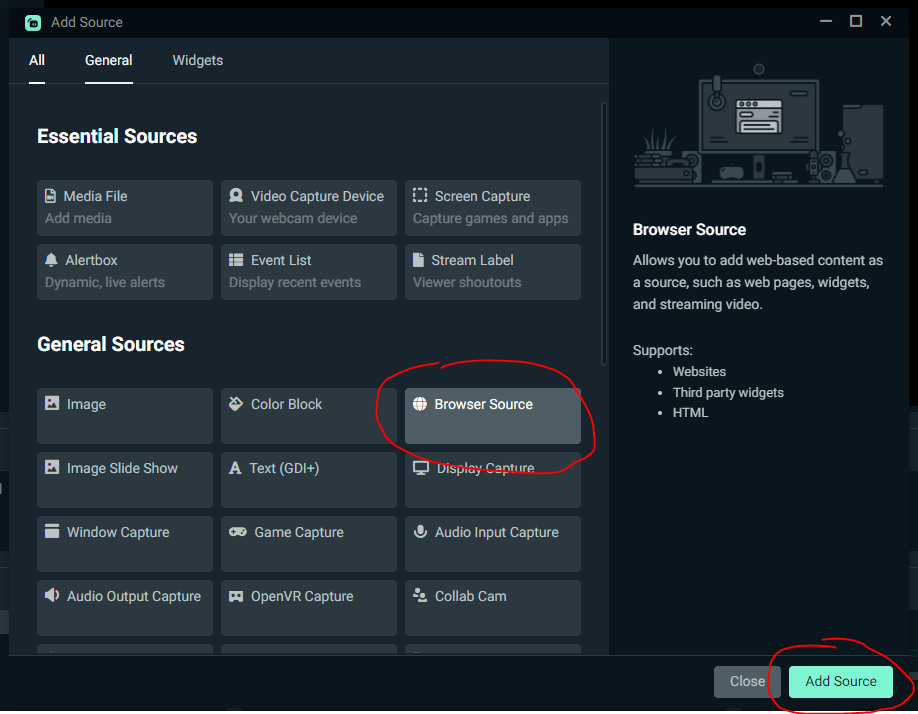
Firstly, select the scene you want the overlay to appear on, and press the Add Source button.
You then get the ability to add something to your scene. Select the Browser Source button and press Add Source.
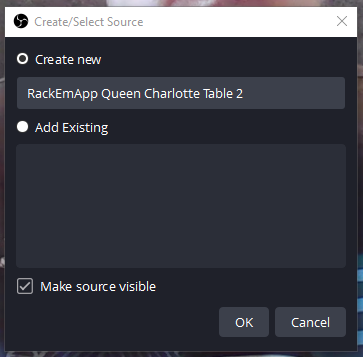
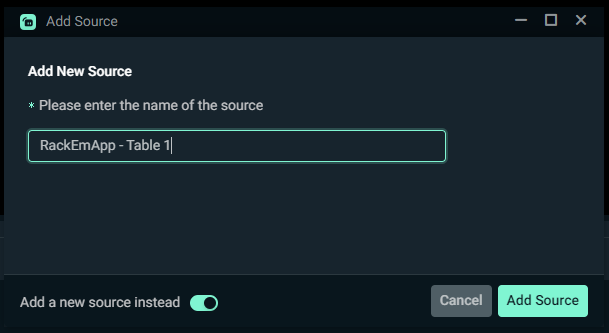
Make sure you toggle the Add a new source option and give your source a name – we recommend naming it after the table you are positioning the camera for. Thn press Add Source.
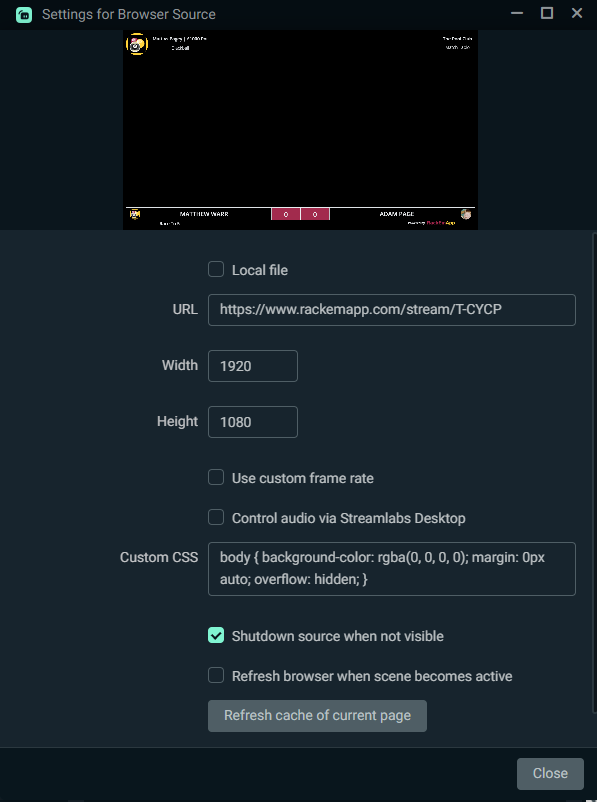
You then get the configuration options to set the size. This will be unique for everyone, but it you aren’t sure, then a width of 1920 and a height of 1080 is fairly standard for widescreens. Then press Close.
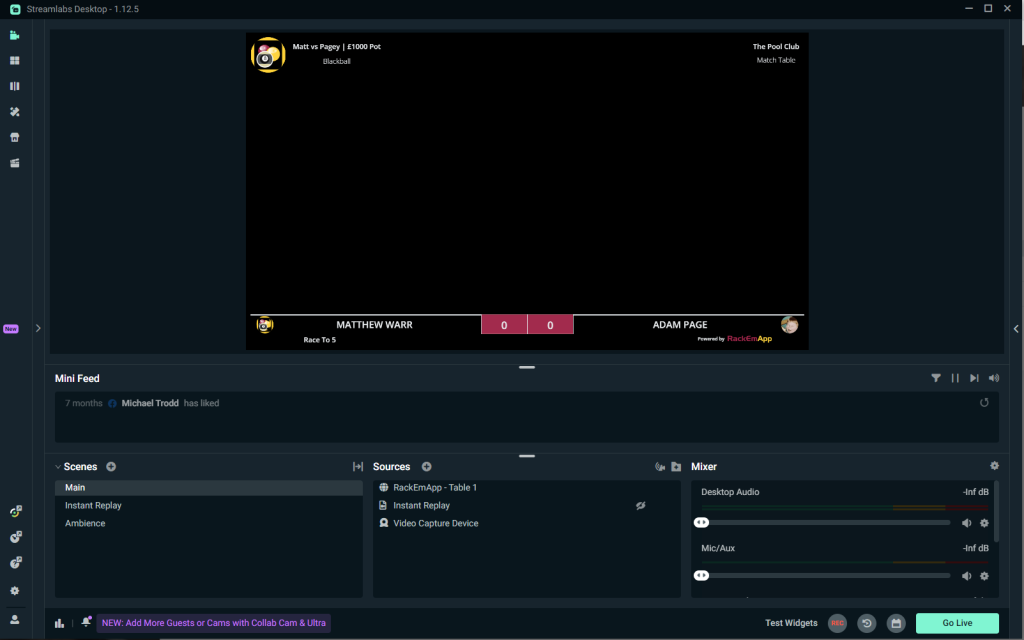
The overlay then appears on your screen. make sure it is set to first on the list of sources to ensure it is on top of your camera feed.
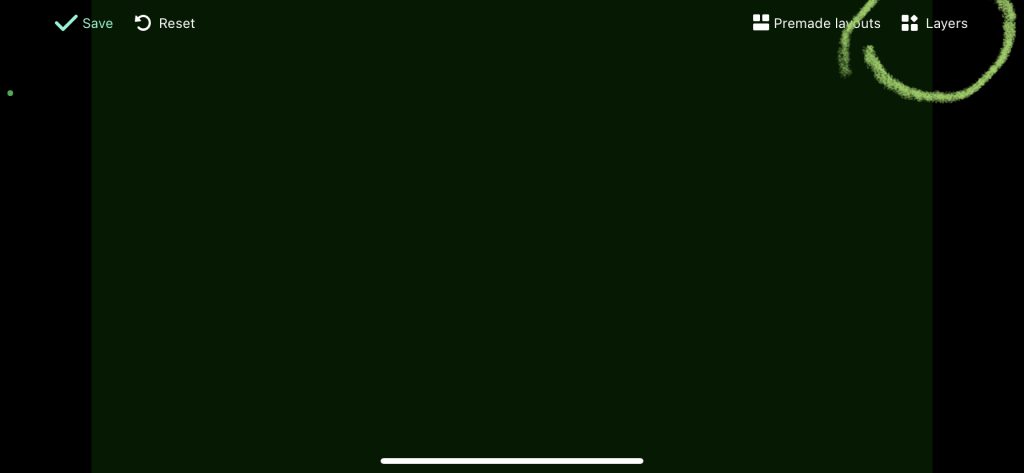
StreamLabs Mobile
In StreamLabs, the default screen has nothing setup. Click the Layers button, followed by Add in order to add the Overlay.
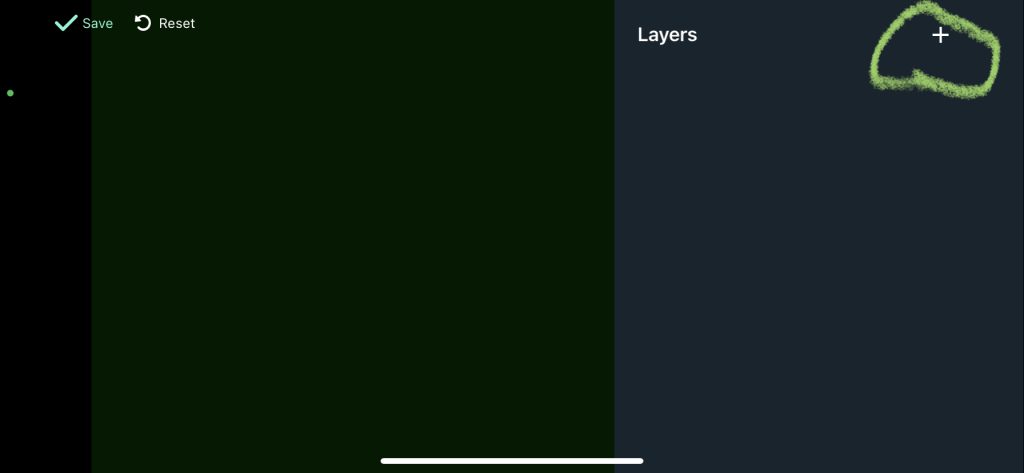
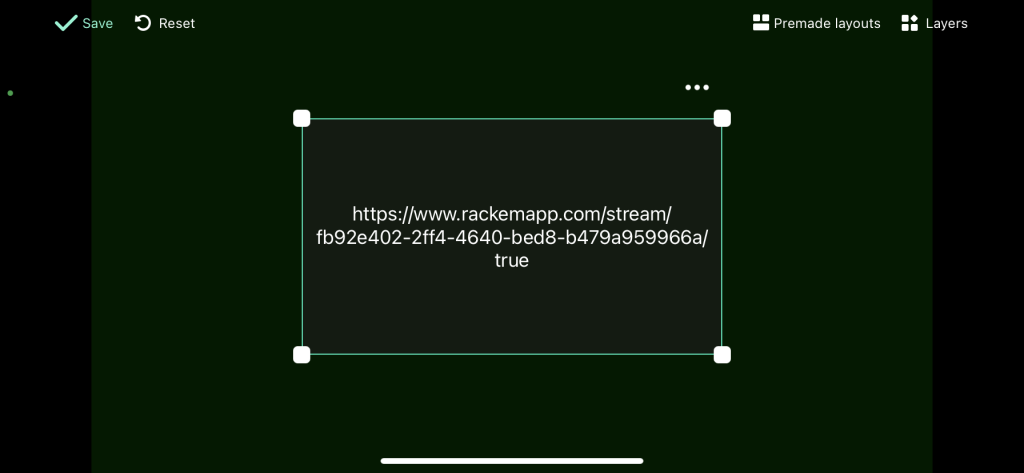
You need to add a Custom Item and then Add URL.
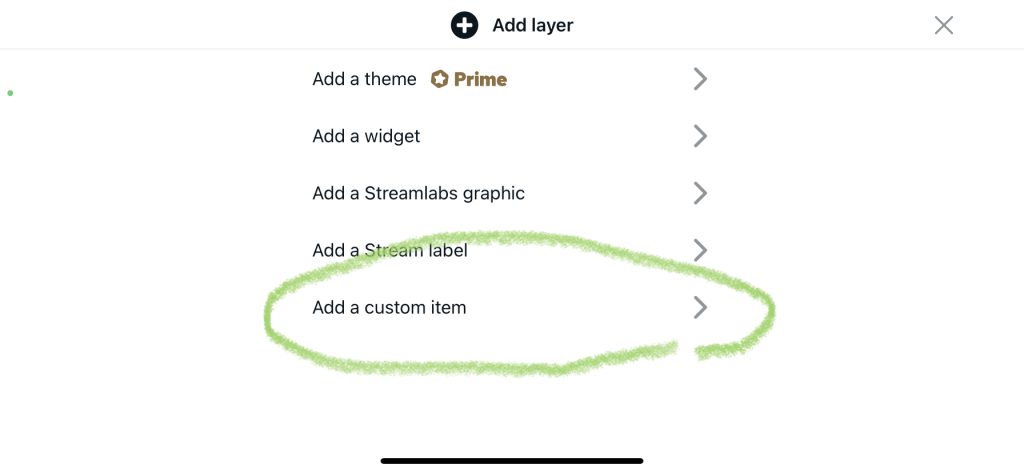

Paste the URL into the box and save it.
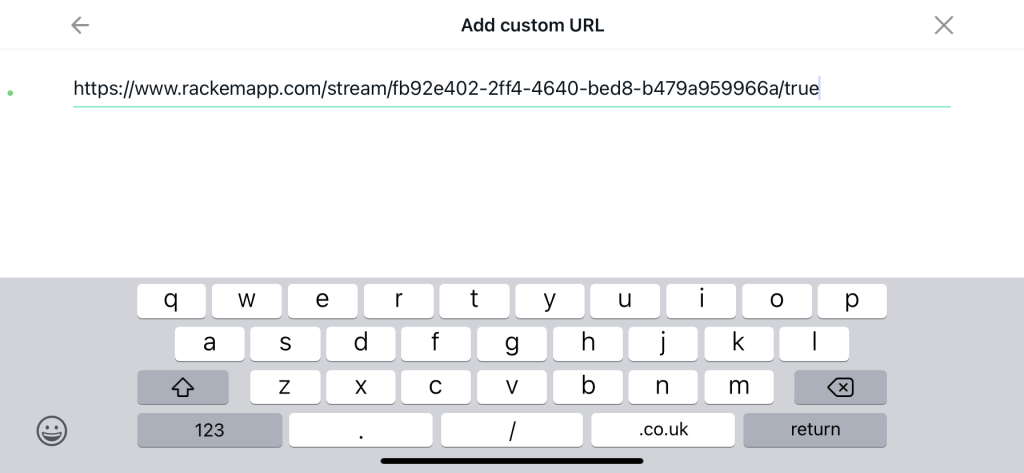
Resize it in the screen as appropriate – you want to make it full screen really, and then Save.
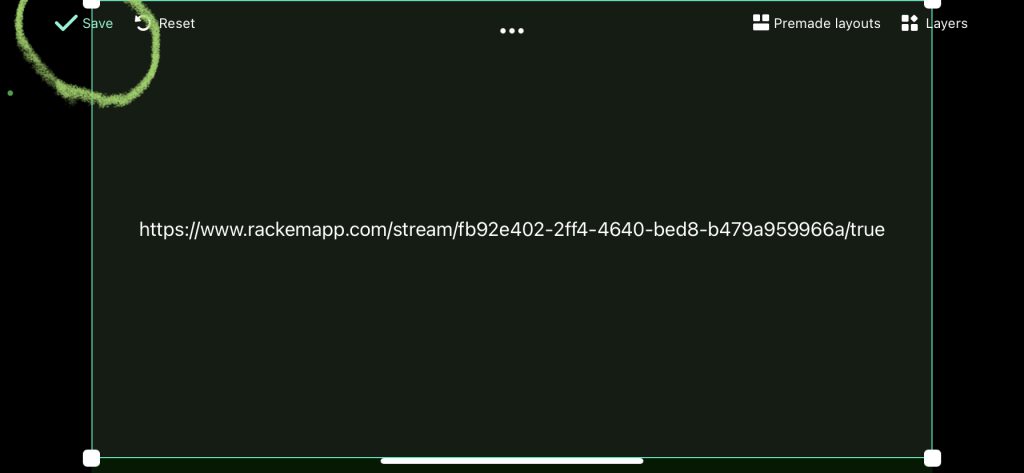
Your overlay is running and you can start streaming.
Additional Overlays
We’ve added some additional overlays that can enrich your streaming experience for your audience.
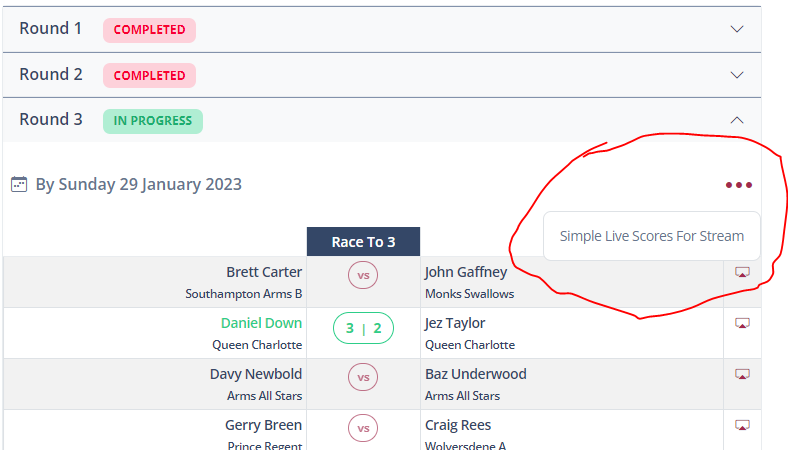
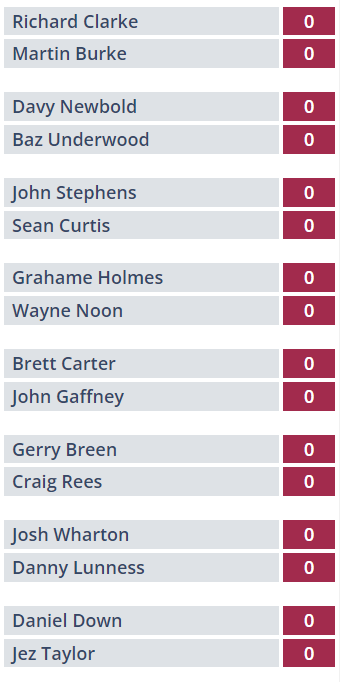
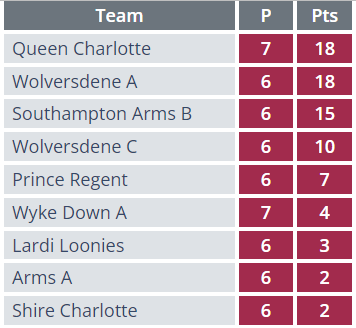
On a League Table screen, you can access a simplified league table and live scores list.
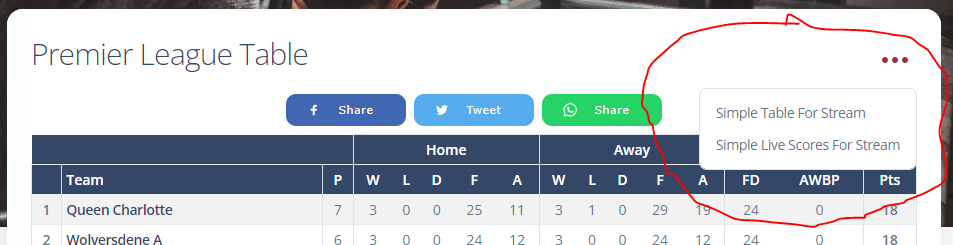
They look odd in a broswer, but adjust the window size in OBS in order to give them a narrow look.
You can also get the live scores for a competition round from the Competition page.